OSP Template
It comes with great OS Property styles and joomla native blog styles apart from bonus styles. Make sure you check all the pages in the live demo.
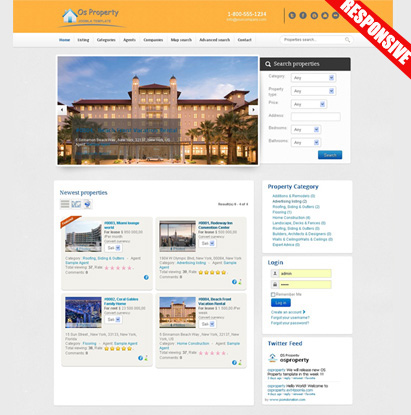
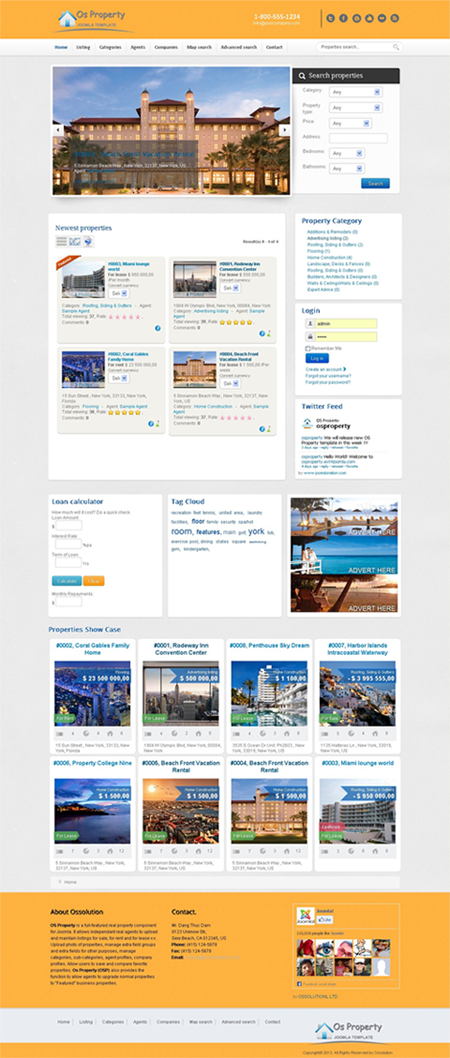
OS Property template is perfect for real estate, property company's website. Do not use any template framework, OS Property will be added responsive feature in future and it will fit all the web enabled devices and mobile browsers.
This template does not support RTL CSS style.
The quickstart version of template includes OS Property latest version (2.0.7.1)
|
OS Property template is May 2013 template for Joomla 2.5 and Joomla 3.x.
It is an multi-purpose template including real estate with OS Property component. It can be used for personal, blog, events and special real estate sites.
It comes with great OS Property styles and joomla native blog styles apart from bonus styles. Make sure you check all the pages in the live demo. OS Property template is perfect for real estate, property company's website. Do not use any template framework, OS Property will be added responsive feature in future and it will fit all the web enabled devices and mobile browsers. This template does not support RTL CSS style. The quickstart version of template includes OS Property latest version (2.0.8)
Uses Bootstrap Twitter library
Joomla! 2.5 and Joomla! 3.x
 FEATURES:
Clean & Modern Design
Responsive HTML5 + CSS3 Design Live title menu Cross-browser compatible Easy to customize Integrate with OS Property
CSS:
Twitter Bootstrap — Bootstrap Framework COMPATIBLE BROWSERS:
IE9, Firefox, Safari, Opera, Chrome
SOFTWARE VERSION: OS Property 7.0.1
LAYOUT: Responsive
CREATED: 1st May 2013
|
 |
Installing Joomla! for the first time is very easy. Joomla!'s built-in web installer makes setting up your new site a breeze.
Before we start installing Joomla!, there are a couple prerequisites that need to be met to install Joomla! successfully. These apply whether you have a dedicated server, a shared hosting plan, or are installing a copy on a local computer for testing or development. You'll need to meet the following requirements below to install and use Joomla! 3.x
I. References Downloading and Uploading Joomla! Package Files
II. Main Configuration
With the above requirements met, a database created and the required Joomla! files in place, you are ready to install Joomla!. Start the Joomla! web installer by browsing to the site's domain name,
www.yoursitename.com and you should see: 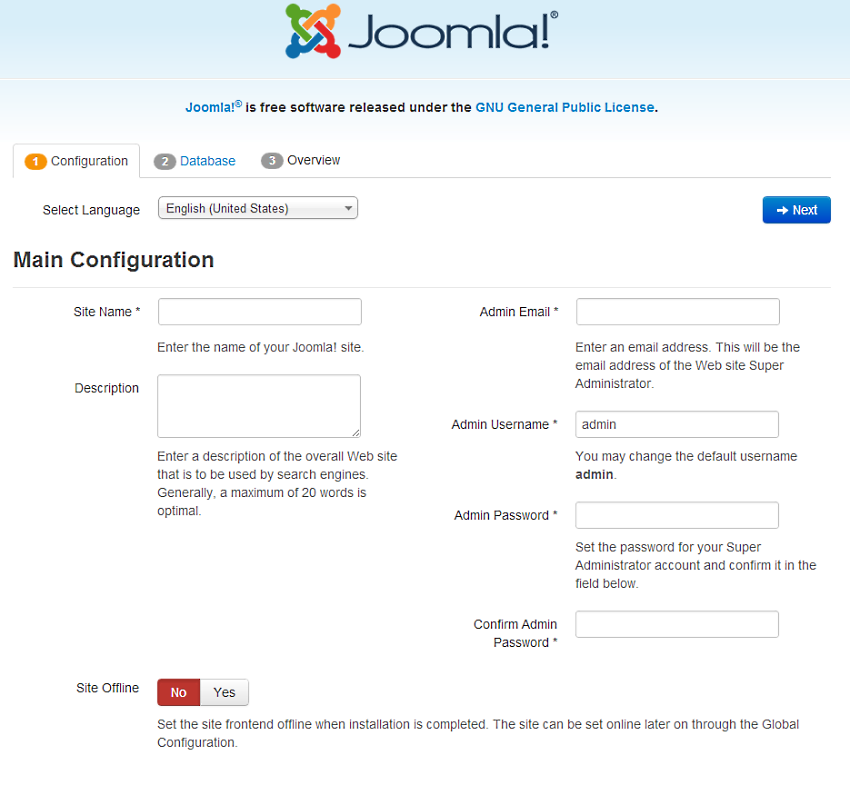
- Site Name: The name of your website — this can be changed at any point later in the Site Global Configuration page.
- Description: Enter a description of the website. This is a the global fallback meta description used on every page which will be used by search engines. Generally, a maximum of 20 to 25 words is optimal. Again, this can be changed on the Site Global Configuration page at any time. For more on metadata, see Global Metadata Settings and Entering search engine meta-data.
- Admin Email Address: The admin email address. Enter a valid email in case you forget your password. This is the email address where you'll receive a link to change the admin password.
- Admin Username: Joomla! uses a default "admin" as the username for the Super User. You can leave it as is, change it now(which a good Security measure) or use My Profile in the Administration interface to change it later.
- Admin Password: Remember that super user has maximum control of the site (frontend & backend), so try to use a difficult password. Use My Profile in the Administration interface to change it later. Confirm the password in the Confirm Admin Password box.
- Site Offline: Click the Yes or No box. Yes - this means when installation is complete, your Joomla! website will display the 'Site is offline message' when you browse to
yoursitename.comto view the home page. No - this means the site is live when you browse toyoursitename.comto view the home page. You can use the Site Global Configuration in the Administration interface to change the Offline status at any time.
III. Database Configuration
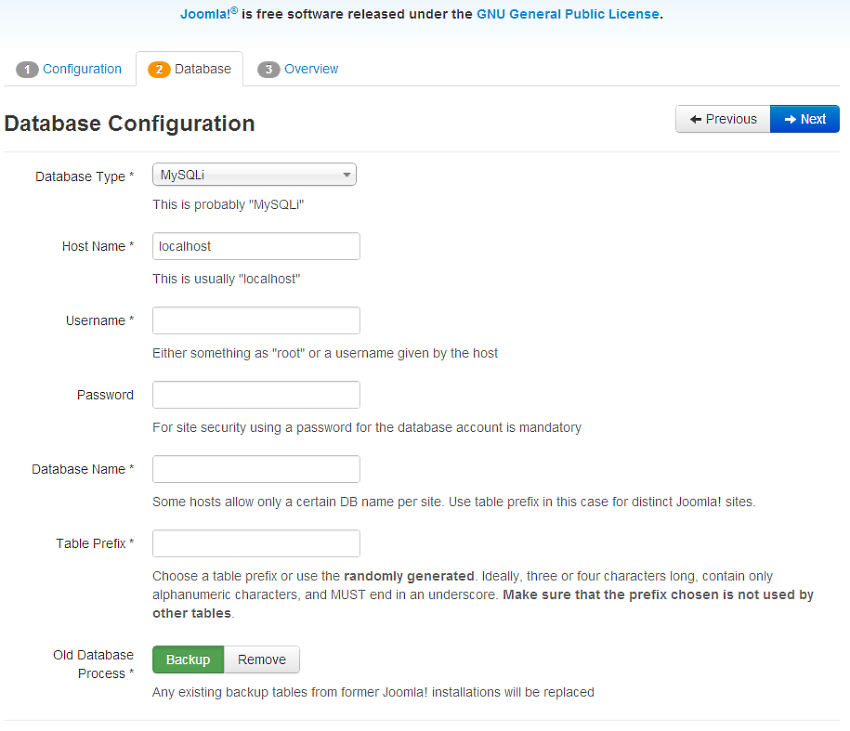
- Database Type: MySQLi is the common database used
- Hostname: Where is your database located? Common is
localhost, but some hosts use a specific database server such asdbserver1.yourhost.com - Username: The username used to connect to the database
- Password: The password for the database's username
- Database Name: The name of the database
- Table Prefix: One is generated automatically, but you can change it. For example,
jos3_can be used. Just don't forget to put the underscore character(_) at the end of the prefix. - Old Database Process: Should the installer backup or delete existing tables during the installation of new tables? Click, Yes or No to select the choice.
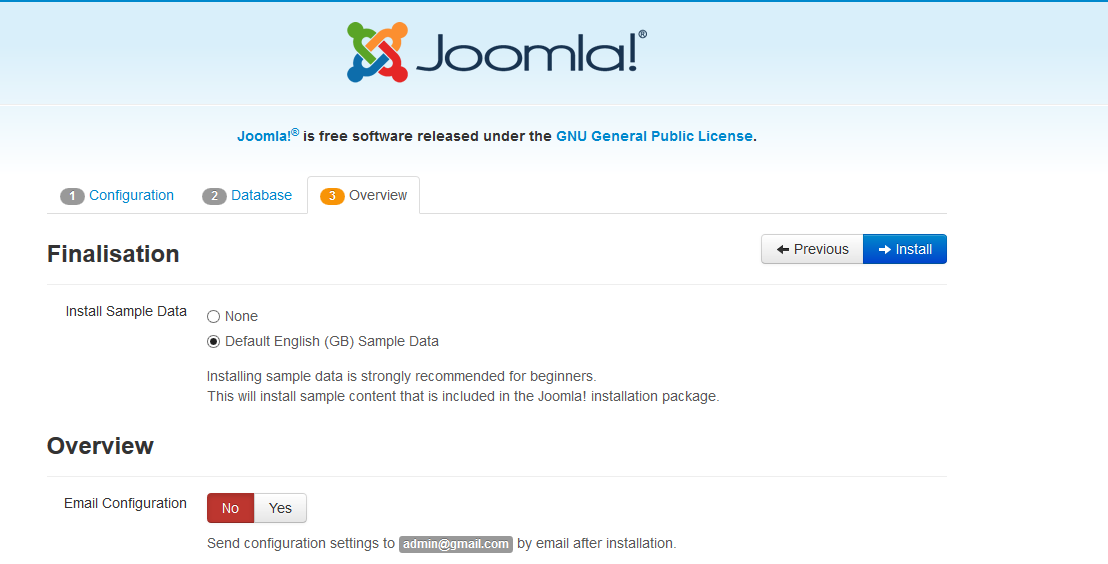
It is now time to finalise the Joomla! installation. The last page of the web brower installation contains all the information about the installation. This includes the options(at the top) for installing sample data and the installation's configurations(at the bottom).
Install Sample Data and Email Configurations
The first options are for automatically installing sample content to the website and emailing the configuration settings.
Time to check the configurations of your install and the environment of the installation.
Checking Your Configuration
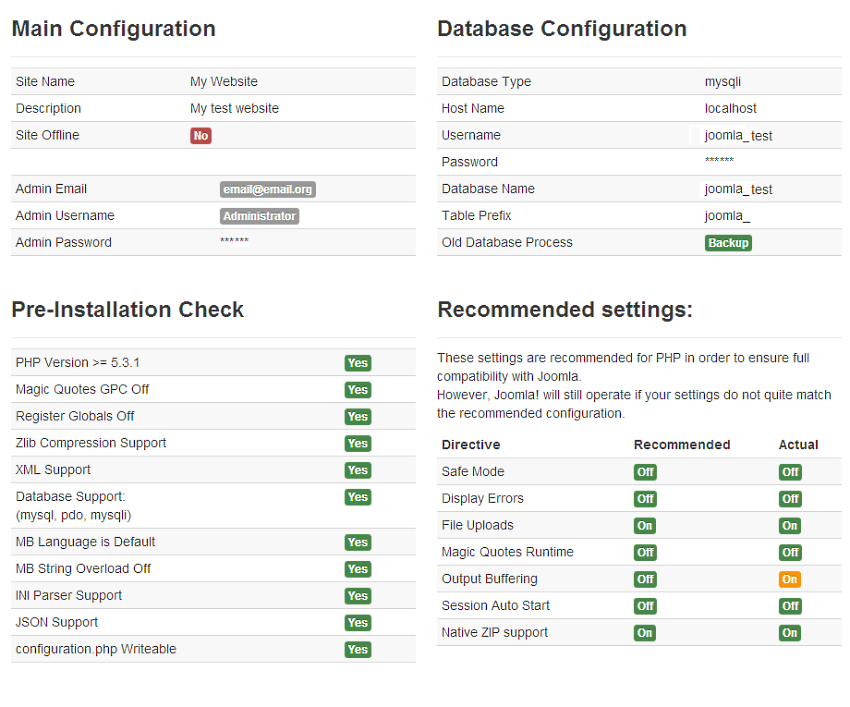
- Main Configuration: All the website specific information, such as the website name, description, admin username, etc.
- Database Configuration: Contains the information about the database Joomla! will use.
- Pre-Installation Check: These requirements must all be shown as Yes, otherwise you will not be able to install Joomla! With the exception of the PHP Version, the rest are usually controlled in the php.ini. You may need assistance from your host in correcting these settings or checking to see if it is possible to adjust them. For more information, see PHP configuration file file.
- Recommended Settings: These are settings are recommended in your PHP configuration, but will not prevent Joomla! from being installed. You can refer to the above instructions on how they may be changed.
V. Success and Finishing Up the Installation

Install via Admin Panel (packed template file)
Log into the back-end of your site (www.your-site.com/administrator/)
Click on: Extensions -> Install/Uninstall
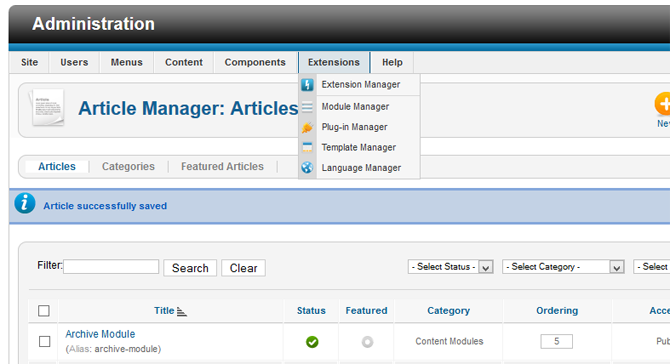
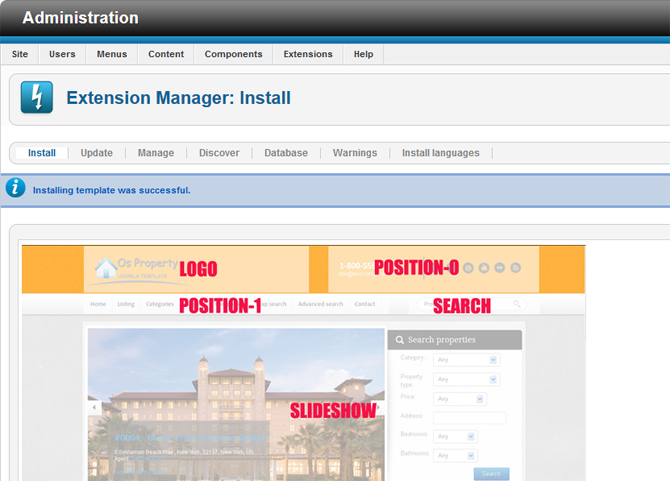
You see the page "Extension Manager"
From here you can install your Templates, Plugins, Modules, Components and Languages. You have three options:
- Upload Package File - (select a package from your PC, upload and install it)
- Install from Directory - (enter the path where the package is located on your server)
- Install from URL - (enter the URL to the package)
Here, we choose the first method: Upload Package File
Select the package from your PC and click the button "Upload File & Install"
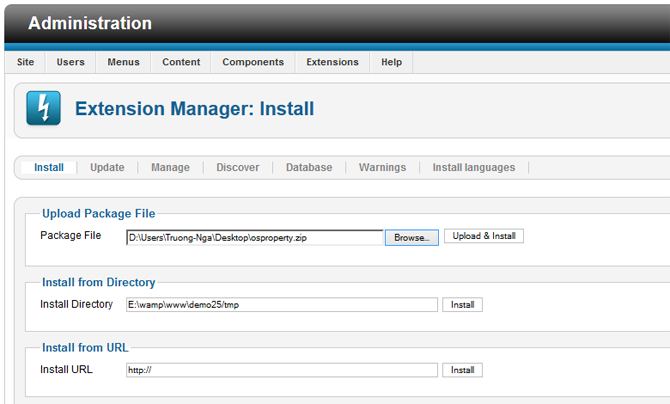
If the package contains no errors you are done and get a success message like the one below.
Install via FTP (unpacked template file)
Templates can also be installed via FTP without packaging them. Simply select the template folder on your PC and upload it to your server, using your favorite FTP software. Be sure you upload the template folder to the directory: /path_to_joomla/templates/ - where /path_to_joomla/ is the location of your Joomla! installation on the server. This method is mostly used when you have created a template yourself, and do not want to have to package it to install the template, or if you want to upload more than one template at once.
Note: Do not try to use FTP to install Components, Modules and Plugins if you are a beginner/novice. These items need database entries which have to be inserted manually if you bypass the package installer.
Install Content From A Template
Joomla Version 2.5 and above can import content along with templates. This is a means to develop content locally with programs like Artisteer so you can import your whole site in one go. To import your content; Install the template as above, then from the Template Manager: Styles page (Extension > Template Manager) Select your template name in the left hand column (with the heading style) and then import content from template.
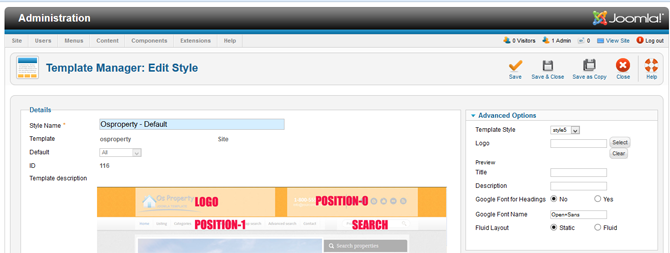
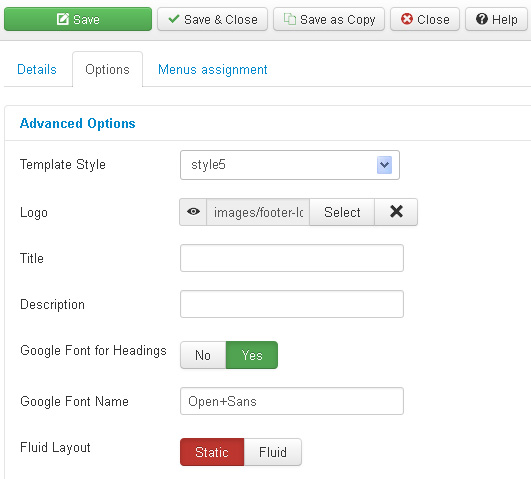
The above picture is the configuration page of template. There are 2 points you need to notice:

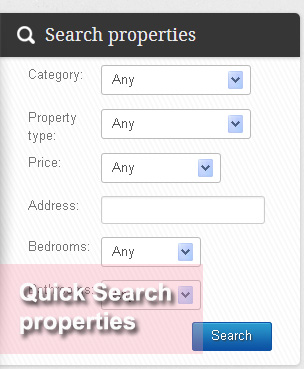
2. Widgets
1. Quick search module
* Initial Release